Showing posts with label English Civil War. Show all posts

Tuesday, October 10, 2023

Change of plans.

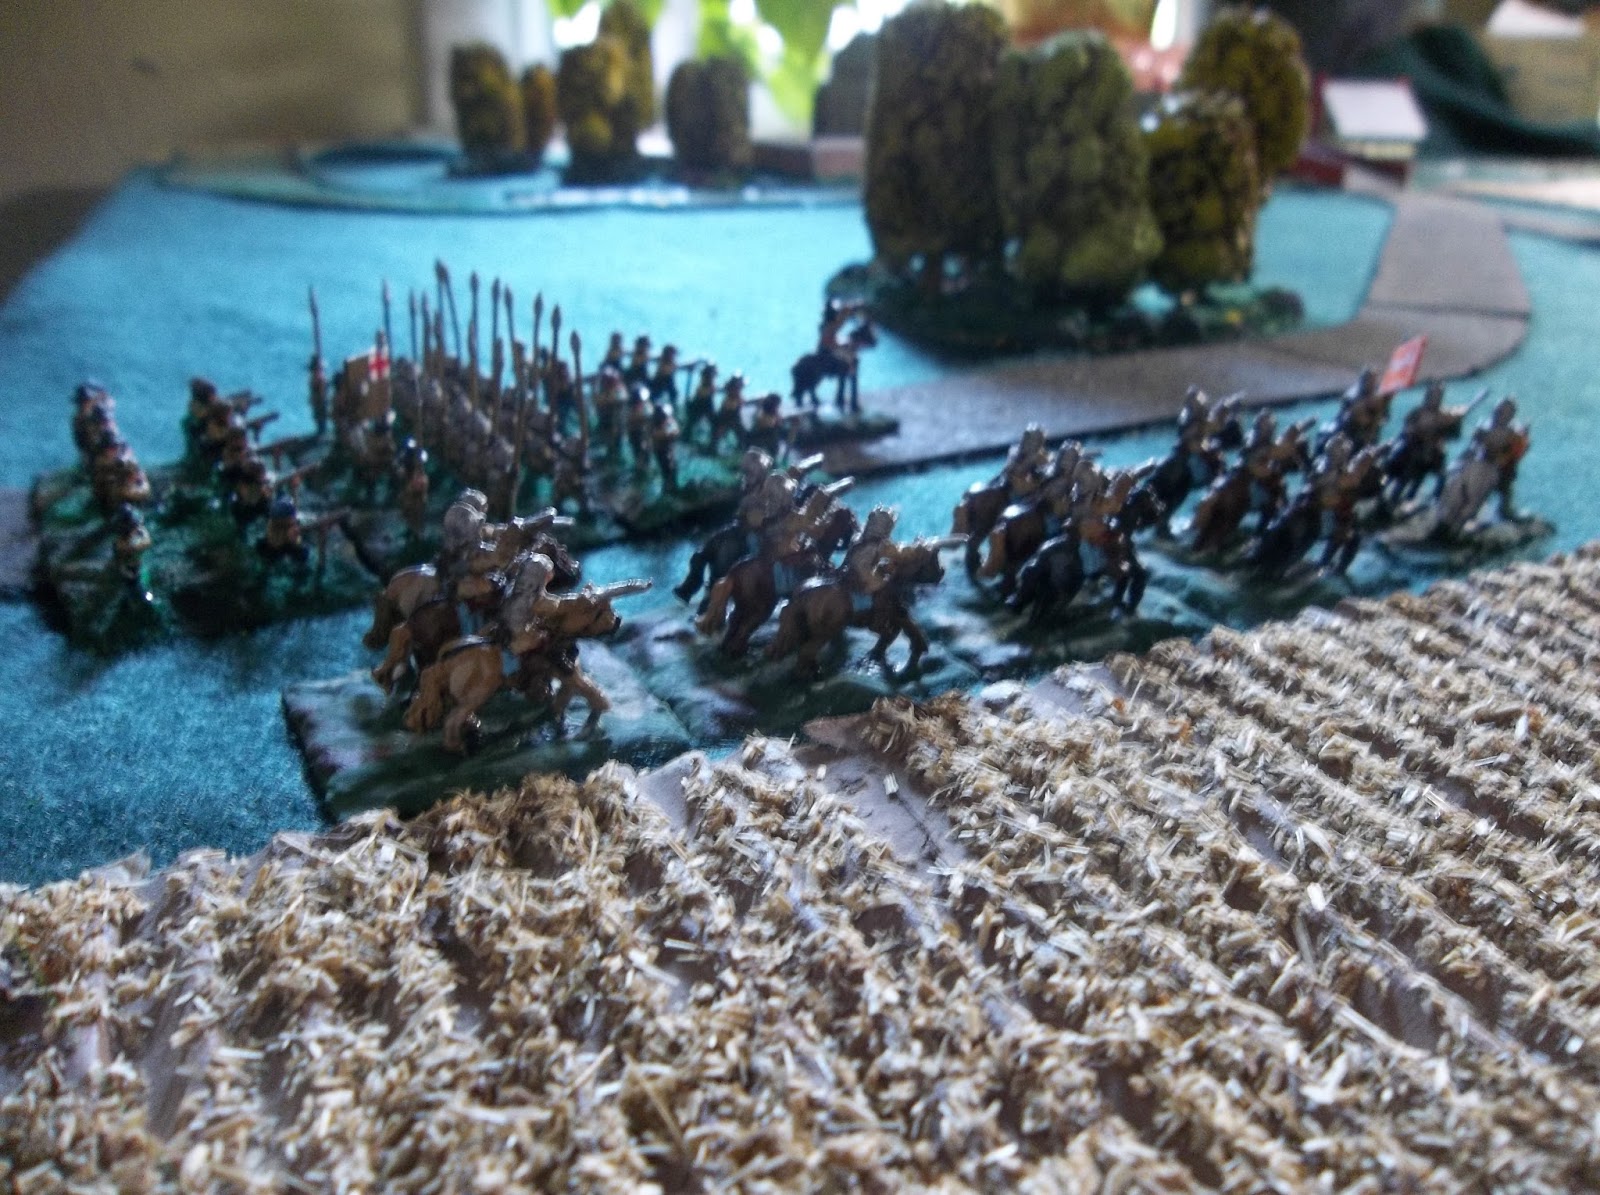
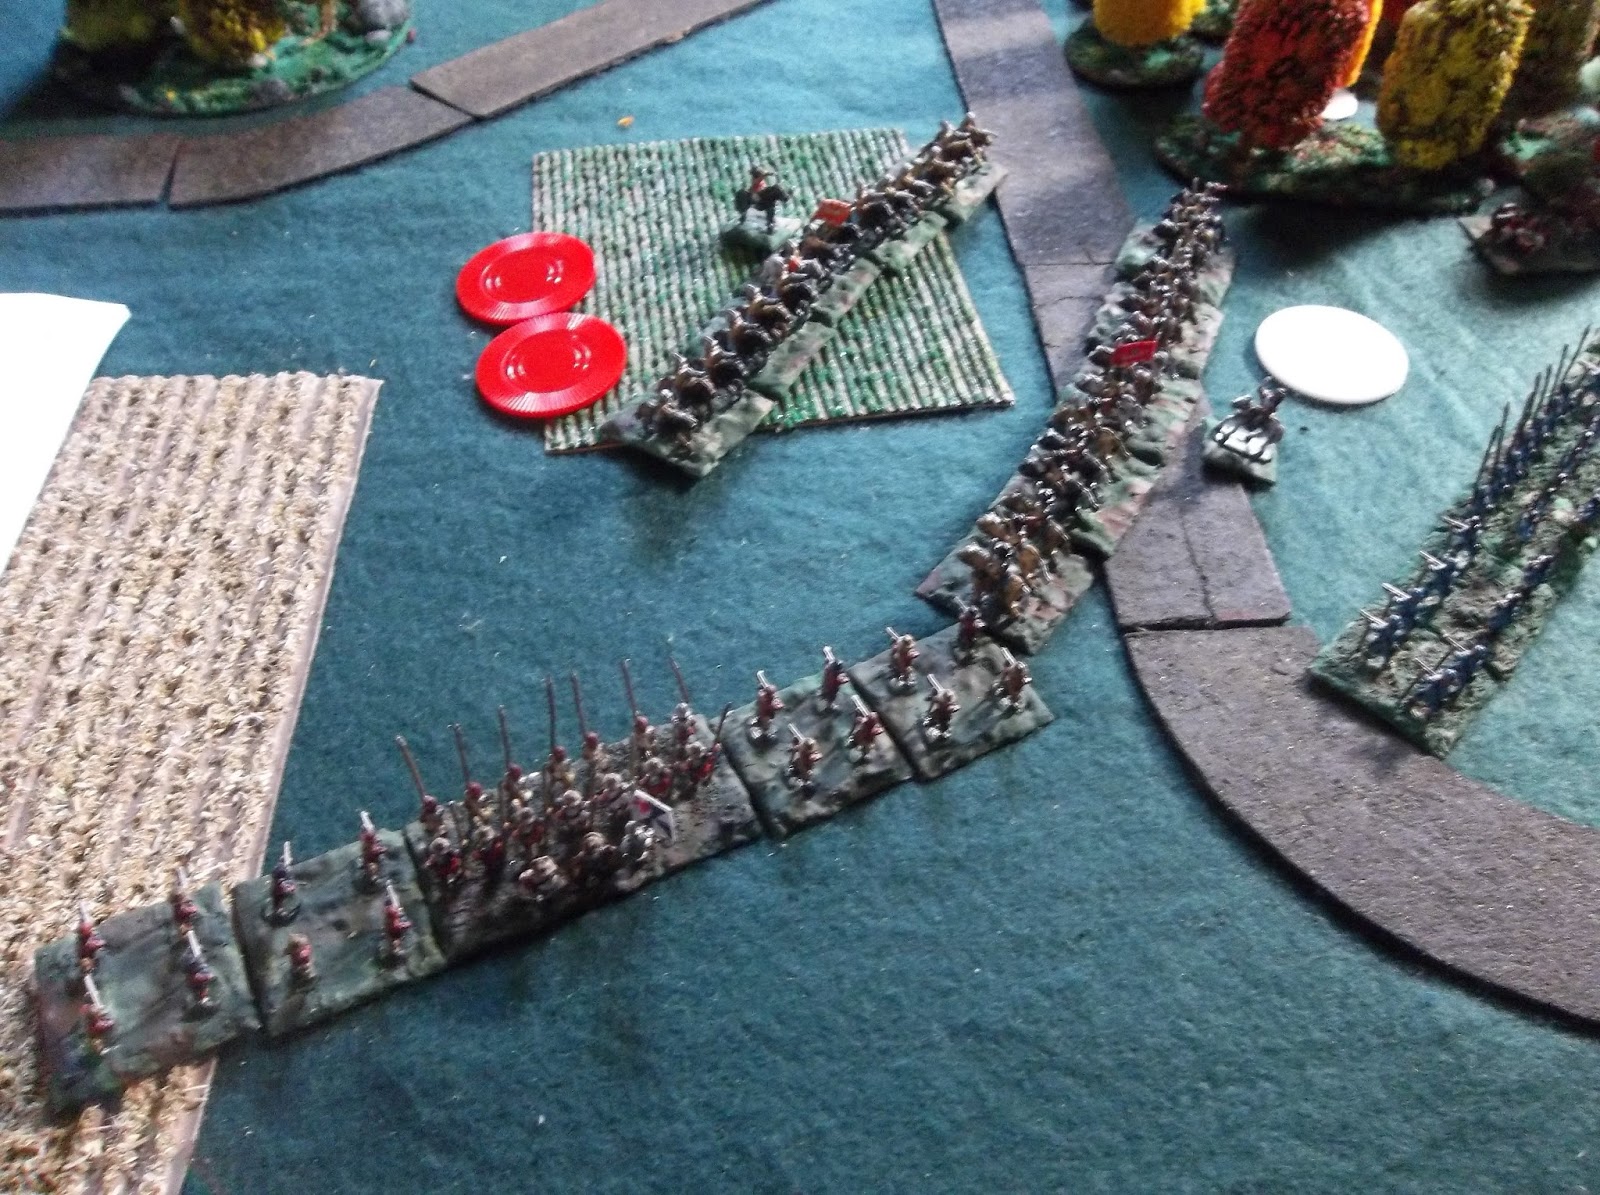
In light of the horrific situation in Palestine I've decided against starting a WW1 Middle Eastern collection. It seems too near the knuckle to game a location that's currently seeing so much bloodshed. I've decided instead to expand my existing ECW collection to a size more reasonable to game with. It'll basically mean adding to each side three or four regiments of foot, a regiment of dragoons and perhaps another cavalry regiment apiece too.

Oh sh-t! The colonel's here!

Friday, October 6, 2023

It's been a while...

A busy life and dealing with long Covid suppressed any desire I had to game over the summer months. Now the cooler weather's here I'm thinking of starting up again, perhaps with a new 10mm project, perhaps by expanding an old one. 

As a nod to the potential new project I recently bought Allenby's Gunners...

The blurb...

The book tells the story of artillery in the highly successful World War I Sinai and Palestine campaigns. Following Gallipoli and the reconstitution of the AIF, a shortage of Australian gunners saw British Territorial artillery allotted to the Australian Light Horse and New Zealand Mounted Rifle brigades. It was a relationship that would prove highly successful and Allenby's Gunners provides a detailed and colorful description of the artillery war, cavalry and infantry operations from the first battles of Romani and Rafa, through the tough actions of Gaza, the Palestine desert, Jordan Valley and Amman to the capture of Jerusalem. The story concludes with the superb victory of Megiddo and the taking of Damascus until the theater armistice of 1918.

Smith Covers the trials and triumphs of the gunners as they honed their art in one of the most difficult battlefield environments of the war. The desert proved hostile and unrelenting, testing the gunners, their weapons and their animals in the harsh conditions. The gunners' adversary, the wily and skillful Ottoman artillerymen, endured the same horrendous conditions and proved a tough and courageous foe.

* * *

I've yet to start in on the book, but it sounds promising. There are a number of blogs out in the blogosphere which are inspirational, such as:-

Grid based Wargaming

Michael Scott's WW1 Blog

Although Michael hasn't posted anything on this project for a while, it's still inspiring stuff. He bases his gaming on the Too Fat Lardies If the Lord Spares Us rules set, which I plan to use as they lend themselves to solo play.

So, I might begin a new period in this interesting theatre of the Great War, with its eclectic mix of units types and terrain - plus Lawrence of Arabia! Or, I might continue with my ECW collection, expanding from the handful of foote and horse to something approaching a worthwhile army for both Parliament and Royalists. Decisions decisions...


Wednesday, June 24, 2020

Flocking on the Henge


More progress on the henge terrain piece...

I currently use a carpet and sheet vinyl adhesive to fix flock to models. PVA would work just as well, but since the adhesive's a leftover pot from another job it's what I'm using. I began at the middle of the terrain piece around the sacrificial slab and spread the gunk outwards using a coffee stirrer, making sure the stuff lapped up to the base of the stones and not on to them.


Once the whole base was covered I gave it a good deep dosing of dried used tea leaves. The adhesive is really tacky, but it pays to press the flocking/tea leaves gently down into it to ensure it all sticks. I left it overnight then shook off the excess material. Here's what it looked like at this stage. The tea leaf brown will add depth and the impression of soil beneath the grass. 


The next step is to get some greenery down.


A light wet brush of 'parakeet green' applied whilst the flock is still damp picks out the grass.


The next step will be to apply a little dark green to the stones and dot some larger vegetation about.

Monday, June 22, 2020

Zen and the Art of Henge Building


One thing I discovered from my terrain making projects for the tabletop is how wood chip looks very much like stone in the smaller scales. My wife and I recently had a ton of wood chip delivered to use in our garden, so I selected a few likely small pieces from the heap for my next modelling project - a henge for the Dux Britanniarum tabletop.

Henges date from the Neolithic/Early Bronze Age, and are dotted throughout the British Isles. Technically from the archaeological point of view a henge is a space located within a ditch which is itself enclosed by an earthen bank. Stone circles - even mighty Stonehenge - are a different beast, but the term has stuck, so...

As a gaming terrain piece they can therefore appear on any tabletop battlefield set in Britain during any era from the Neolithic on. My aim is to make a small-ish site like those of Arbor Low Henge in Derbyshire or Scorhill on Dartmoor in Devon. I'm in two minds whether to make the outer ditch and bank as the piece will then have a larger footprint on the tabletop. We'll see.

I started with this handful of suspicious-looking brown objects...


Using a mitre box and razor saw I cut them in half, before making the base for the henge. The core of the base is an old CD which I sandwiched between two layers of cereal card, bending the card down around the edges to make a low mound. The cut pieces of wood stand in the background.


Once the card was glued tight on the CD I arranged the wood pieces in a suitable henge configuration and fixed them in place. I decided not to make any trilithon ('table') pieces for the sake of simplicity and robustness. They tend not to feature in the smaller henge sites anyway. The shadows the pieces cast already make them look like the upright stones and sacrificial slab of a small stone henge. I'm on the right track...


The next step was to spread a little spackle around the base and 'stones,' leaving some patches bare. These will be areas of lower ground within the circle when the top layer is done.


Suitably spackled, the piece awaits the undercoat. More to follow...

Tuesday, May 19, 2020

Butter market built


So here we have it - one butter market/market cross.


I initially painted it grey to match the church, but found it looked too drab. Mixing up a light mustard-colour I repainted it to look like Collyweston stone, a variety of stone found in the British Midlands which varies in colour from pale grey-beige to honey-yellow. The grey paving slabs on the base were drawn on using a sharp-ish pencil.

Of course, now I have a market cross, I need a market place to go with it. I'm thinking of using a section of roofing shingle coated with vinyl adhesive then painted. Not sure if it'll work or not, but I'll give it a go.

In other news, I find I'm horribly tempted to get into yet another field of gaming - WW1 Mesopotamia. The question I ask myself is - do I need another period with troops in pith helmets supported by river gunboats?

Friday, May 15, 2020

A bit of a butter market project


Having finished the church steeple I found myself assembling what buildings I have for the ECW period to see what it all looks like, and thinking the small community lacked something. Most old British settlements have a market place, which features or featured a market cross or a structure sometimes referred to as a butter or corn market. Having a few hours to spare due to rainy weather closing down gardening for a week or so, I thought I'd bung a few Hirst Arts plaster bits together to make a butter market structure. Again, it's in the Gothic style, and for the sake of the narrative was probably build around the same time as the village church.

Here's what I have so far...


The two-step platform for the building is made of metal discs taken from orange juice and Pilsbury dough containers, covered by cereal card and edged with strips of cardstock paper. Hirst Arts components make up the roof and supports, and the pyramidal roof is more cereal card. I'll add a cross to the roof pinnacle like the one on the church steeple. 

Next step will be to paint everything which will be inaccessible once it's all glued everything together then assemble it.

Sunday, May 10, 2020

Steeple


So here it is, the completed steeple, seen in place on the tower of St. Aimless the Confused,* parish church of Much Giggling in the Hay.

Those fine chaps of Sir Rick Astley's** Regiment of Foote guard the church from incursions by those naughty iconoclastic sons-of-fun, the Parliamentarians.


Each of the four faces of the steeple has a small window made from rectangles of coffee stirrer cut to shape and shaved into wedge shapes so as to fit the sloping sides. The windows were painted on. The stripes marking planks, tiles, slates etc. didn't make it through the painting stage but enough showed I was able to go over them again with a sharp pencil. The cross atop the steeple took a bit of doing. A thin strip of wood provided the bulk of it, with the two arms being glued to either side to present a flat profile. I inserted the end of the cross into a small bead, pushing enough of the stem through to go into the apex of the steeple. Once glued in place I painted it all gold.

* Patron Saint of the Permanently befuzzled.

** Sir Rick Astley's a thoroughly reliable officer. He'll never give you up, he'll never let you down...

Thursday, August 9, 2018

Inigo Jones and the...


Two posh houses? Doesn't exactly trip off the tongue, but it's a way of saying I've finished the two Jacobean houses I've worked on this last week. Results shown below.


Not too shabby I think, although once again I should probably keep off the coffee before doing any fine painting. I managed to capture the overall look of the Jacobean style. As I mentioned in a previous post, some details had to be omitted due to being too fiddly or delicate for a gaming model. The roofs with the variegated shades of brown and brick-red tiles typical of the period worked. So did the classic 'crow-step' gables.


The chimneys are a bit oversize to give the impression of imposing height to the structures without adding to the tabletop footprint. Antique white craft paint represents the pale limestone used by the architects of the time for window bays and porches, and to pick out the edges of walls, gables and chimneys. I painted the porch columns and entablatures in white so they stand out a bit more.

Next up I'll make a gatehouse or two for the walls I made earlier then I'll get it all on the table for an actual wargame.

Sunday, August 5, 2018

A Touch of the Jacobeans


The late medieval/Tudor house is finished, so I thought I'd add some more up-to-date buildings to the ECW village in the shape of two Jacobean houses. The style preceded the ECW by a couple of decades or so, and look quite different from the half timbered/fachwerk* style of the previous century.

I've got the bulk of the painting done, settling on the characteristic Jacobean warm orange-red brick. It's a little too hot in appearance, so I'll probably tone it down a bit with a yellow-brown wash. The window bays and doorways are antique white as these were usually built from pale coloured stone.


Just the windows and doors to do. I'll omit the style's more fiddly detail since these are working models for the gaming table.

Speaking of gaming... I hope to run a solo ECW game sometime this next week. My table has been up and ready for months yet I haven't played a game on it. With luck and a following wind, I also hope to visit family and friends in Britain either next month or November, at which time I'll retrieve a load of figures, models and books which have languished in storage since I emigrated. 

*No, not a 1980's German technopop band. Rather the German name for the half-timbered style.

Saturday, July 28, 2018

Summer scenery


Time flies. It's been over a month since I last posted. Summer seems to get so busy, especially when trying to keep a new garden alive during a prolonged hot dry spell. Even so, I found a bit of time to make some more N scale/10mm scenery. The primary use will be for ECW, but it'll also serve for AVBCW.

First up, the edifice I keep thinking of as The Big Hoose. Don't ask me why, as my games aren't set in Scotland. Perhaps it's because I've been listening to The Doings of Hamish and Dougal lately!

The house is a Tudor style affair with three jetty floors and dormer windows. I made the footprint about the same as other buildings in my collection so as not to take up too much table gaming space, but it's taller (second only to the village church in height) so it'll be more dominant in the wee community. Once painted it'll be the main residence in the village, perhaps the home of the laird - er, lord of the manor. The chimneys are Hirst Art blocks. I worked mostly using half-inch foam core with hot glue and Aileen's glue, with card for the roof. A thin coat of spackle over most of the walls and roof gave it a bit of texture.

Next up is a barn. I have enough houses so a few more agricultural buildings are needed. Again I used Hirst Arts blocks, this time for the main structure. A couple of two inch blocks and two angled pieces make the walls and eaves. The texture looks like clay cob or rendered whitewash in this scale.

A card square does for the peaked roof and the barn doors. I may make it a thatched roof.

I thought more walls wouldn't go amiss so I made these from corrugated card and a few minutes with a hot glue gun. They're all ready for painting and ground work.

The lower level walls (left) will surround the churchyard. I would like to make gravestones and tombs in such a way they won't obstruct figures deployed in it. Perhaps something two dimensional would do the trick.
 

Sunday, April 23, 2017

ECW casualties


I spent much of this morning getting the garden tidy so we can leave it in good condition when we move out. It's a little depressing, seeing all the plants we've established in the time we've spent here coming into full healthy leaf and knowing some will be left behind - especially when we suspect the person buying the house isn't a gardener. We will be taking a number of plants with us, and hopefully we'll have time enough this year to establish a garden in the new place. Fingers crossed...

So, enough of that. On with a bit of modelling stuff. Having some time off this afternoon I thought I would paint up the 10mm/N-scale ECW casualty figures I cast recently from resin. The pieces have been washed thoroughly and have had plenty of time for any remaining volatile vapours to disperse.

Top two rows, from left to right: Sir Alan Apsley's, Earl of Essex's Lifeguards, Bolle's, Montagu's, and a quartet of Parliament cavalry. The bottom four have yet to be assigned.

I painted up two figures for each of my current foot regiments, and enough for the (eventual) two regiments of Ironsides. Royalist cavalry casualties are to follow.

In the Victory Without Quarter rules, a casualty marker is placed if a unit suffers three hits from firing in a single turn: It represents a significant amount of metal tearing through the formation. Once the number of casualty markers equals the number of bases in the unit, that unit is destroyed. Since my foot regiments have three bases, any markers over two are redundant. In a similar vein my cavalry regiments have five three-figure bases, so any casualties over two are a major depletion in strength and the regiment is destroyed.

Tuesday, April 11, 2017

Bases and Casualties


Our house is all but sold, and we will now need to pack in earnest. At least the weather is warm enough for me to paint, so I took the Dux Britanniarum bases and ECW casualties outside and gave them an undercoat.


I used the same dark brown Rustoleum spray paint that I undercoated the livestock pen with earlier as I find it sticks better to the resin. The coverage is patchy - the nozzle decided to clog up partway through the session, but at least they're all covered. The next step, whenever that will be, is to do the grass effect and so on for the bases, and paint the uniforms for the casualties.

I'm really not sure when I'll be able to post again, so I'll sign off for now. 

Thursday, April 6, 2017

Resin casting frenzy


Well, not exactly frenzied, quite leisurely in fact, but I managed to cast a lot of stuff in quite a short time.

First up, six Dux Britanniarum movement trays for my 15mm figures.


The middle one of the bases in the bottom row cracked as I got it out of the mold, but this won't pose a problem. A dab of epoxy adhesive and a base of thin card followed by a bit of flocking and it'll be good to go. I now have enough bases/trays for the main infantry component of the Romano-British army. There are four archers attached as skirmishing infantry, so what I may do is modify one of the bases so it has only four compartments. Once I get the Saxon army, I can turn out trays for that in short order whenever required. 

Next, some Zanzibari slaver casualties.


These have given me some problems, mainly due to the elderly resin I'm using. Beyond a certain age the resin turns a bit... odd (so do we all, I suppose). It has a tendency to foam up if stirred too much and this of course produces bubbles in annoying places. Another flaw is the arm on one of the figures. I didn't notice the excess silicone that needed to be cut away from that part of the mold, so the arm didn't always come out until I fixed the problem. Still, a bit of judicious patching and filling here and there followed by a forgiving layer of paint and all should be well.

Finally, the ECW casualties.


These aren't that distinctive in the photo, but they come out nice and crisp. I sculpted a trio which represents pretty much everything to be encountered on an ECW battlefield.

The weather has turned colder with a perpetual drizzle falling this afternoon. Snow is expected tomorrow - whoopee. So, I'll need to wait until things warm up again before pouring the second half of the lamppost mold. In the meantime I'll clean up all these castings, give them a soak in detergent, allow to dry then give them a dose of chocolate brown Rustoleum spray. Results to follow soon.   

Tuesday, April 4, 2017

Showing moldy results


Success! The new molds came out with few problems worth the name. First up are the wargame-oriented molds. From left to right we have the Dux Britanniarum movement tray, the three 10mm ECW casualties, and the five Zanzibari slaver casualties.


The next is the 1/56 lamppost mold in its freshly-molded form showing what I call the "nougat" bar effect where the silicone met the Sculpey...


 ...then the separation of silicone mold half and Sculpey, showing the master in the mold and the lugs which will keep the two halves aligned. The next stage for this will be to clean up the Sculpey residue where it's sticking to the silicone before installing it in a new box. I'll put another plug of Sculpey in the recess at the base to form the pour funnel. After that I'll brush Vaseline over every part of the new mold half with the exception of the master. As I mentioned before, if this stage isn't done the next pouring of OOMOO30 will stick to the other half and it'll be a helluva job to cut them apart. I speak from hard-won experience...


Last up is the pair of molds which I'll use mainly for decorative items, although the doors, window and column can be used for making buildings for gaming. On the left is the new bookend base, and alongside it is the decorative piece mold.


The latter is the only one so far that has any appearance of bubbles. These lodged in the two chevron pieces on the left of the mold. They won't really be a problem since they're proud of the main surface of the piece and can be trimmed off.  You'll notice some of the OOMOO30 flowed under the diamond-pane window piece bottom-right, but this will trim off without any problem.

In fact all the molds now need to be trimmed in various ways. Silicone tends to climb up the sides of the mold box through capillary action, making the base of the mold uneven with a detrimental effect on the casts. Trimming this off even to the point of beveling the edges solves the problem. A few of the Zanzibari slaver casualties will need cleaning up as the OOMOO30 flowed under some of them. A couple of the masters also broke up when I popped the new mold off, but this is par for the course. I shouldn't need them again.

After all is clean and trim, I'll pour some plaster and/or resin. Results to come!


Friday, March 24, 2017

Leaning on a lamppost


This afternoon I took a breather from the process of clearing up my man cave to make a few more odds and sods for molding. The weather's warming up to the point where I can pour the silicone and have it cure in reasonable time.

A recent discussion on another forum about casualty figures reminded me I needed a few for my 10mm ECW collection, so I made a trio of generic Civil War types. These'll replace the poker chips now doing duty in my games, which do the job but lack visual appeal.


Alongside them is a lamppost of the traditional type, this one in 1/56 scale, which is intended for Pulp/Victorian games and also for bookends along with the cobblestones I made earlier. A more complicated piece, it'll be made into a two-part mold. I'll cover that part when I come to it.

The pole is made from the inner tube of a ballpoint pen, and the brown base is a wooden bead. The top part was constructed from four pieces of basswood cut to shape and glued along the edges, then capped by a square of basswood and a plaster component from the Hirst Arts small pipe mold. I used Puffy paint to fill any small gaps along the edges, building it up to form the frames for the 'glass.' The crossbar is a bit larger than it would be in this scale so resin can flow into it. As it is, after pouring the resin I'll need to gently squeeze the mold to persuade any air bubbles to escape.

More on the whole molding thing later when I get time.

Wednesday, October 5, 2016

Autumnal ECW action - Much Piddling in the Woods


That stern Puritan General Temperance-and-Prudence-Shall-Be-Thine-Watchwords Knott raided deep into Royalist held territory. He brought fire and sword to the Malignant believers in the Divine Right of Kings, smiting them hip and thigh, even. Now, with Autumn drawing on, Knott's on his way back to friendlier climes and winter quarters in the bucolic village of Much Piddling in the Woods - but the Royalists are snapping at his heels...

...Or they would be, if Sir George Moutebank can persuade them to get their act together.

The scene of the coming battle. Autumn's spreading her golden gown.
A goodly beginning for Parliament. Knott leads Montagu's regiment of foot on the final straight to the village.
Sir Allen Apsley's regiment of foot make an appearance on the south road. Now the race is on.
Sir John Norwich's Regiment of Horse gallop by to screen the troops on the road.

Their counterparts, Sir Chas. Gerard's Regiment of Horse gallop up.
Eager to confront the upstarts, Sir Charles forms his regiment into line.
General Knott peers at the oncoming Malignants through his spyglass. Knowing he's almost certainly outnumbered, he wonders - Will I have time enough to reach the village and safety?
Sir John's and Sir Charles' regiments square off against each other. Much Piddling in the Woods lies in the distance beyond the river.
Sir John's regiment begins a caracole maneuver against their rivals. Hits are scarce, but the overall effect is unnerving to the Cavaliers.
In the distance General Knott leads Montagu's regiment beyond the crucial bend in the road between the two woods. Whatever happens now, his infantry should be safe. The artillery follows on at a more leisurely pace.
The caracole continues to baffle the Royalist horse. Sir George Mountebank joins his cavalry and tries to get them to charge, but to no avail. Impatient at the delay, Sir Allen Apsley's regiment moves past the cavalry's flank.


The stalwart pikemen of the Earl of Essex's Lifeguard formed the garrison of the village. They welcome their comrades as Montagu's regiment passes over the bridge. General Knott peers through his spyglass back down the road. His cavalry are doing good work, but may need guidance. 
Finally, Sir George persuades the Cavaliers to charge...
General Knott joined his Trotters just in time to encourage a gallant counter-charge.

A bloody encounter ensued, to the detriment of the pusillanimous Royalists. (The red token denoting a Hit is about to be replaced with the deadly white token denoting a Casualty). 
Montagu's regiment lines the churchyard walls. The tardy artillery make their way over the bridge. Much Piddling in the Woods is safe for the army to winter in.
Eschewing the caracole, Sir John's regiment gives their opponents a good pistoling. Although the Royalist artillery and Bolle's regiment of foot fume at being screened by their own horse, Sir Allen Apsley's regiment is about to alter the equation.
The right flank sleeve of Sir Allen's regiment gives fire against the Parliamentary horse, causing some damage.

General Knott decides discretion is the better part of valour and leads his horse away down the road to the village. A triumph for Parliamentary arms!
* * * *
All figures are 10mm Pendraken Miniatures. Fought to Victory Without Quarter rules, the game was noteworthy for the amazing number of poor dice rolls on the part of the Royalist cavalry. Even the presence of their C-in-C wasn't enough to persuade them to charge for several moves (There's not much that can be done when the dice score fails consecutively to rise above 4!). When the Malignants finally managed to stagger into a charge against their rivals, the Ironside 'trotters' previously held in such contempt handed the Royalists their flowing-lock'ed heads to them on a platter.

The cards were drawn at random, and the sequence favoured Parliament quite enough in the first few turns to make their reaching the village with most of their force intact a certainty.

It was a quick, fun game, and gave me the chance to put my new Autumn-foliage trees on the table. I hope to be able to add to the ECW forces in the next few weeks. Watch this space...

Sunday, September 18, 2016

The Earl of Essex's Lifeguard pikes.


What it says on the tin. I painted these pikemen on and off during the week, and they're now based and ready for action.


Of course they lack the 'sleeves' of musketeers that form up on either flank, but they'll serve for now. It illustrates the problem of buying multiple figures in packs - there are always figures left over after the units have been assembled. I get around this to some extent by varying the number of figures in a regiment. It gives the randomness found in unit strengths of the period where recruitment was inadequate, and losses through battle or, more often, sickness had accumulated.


home page uniques