Thanks for all the kind comments on the making of my shell craters. I've now adapted the design to produce two volcanic caldera suitable for Pulp/SF/VSF gaming.
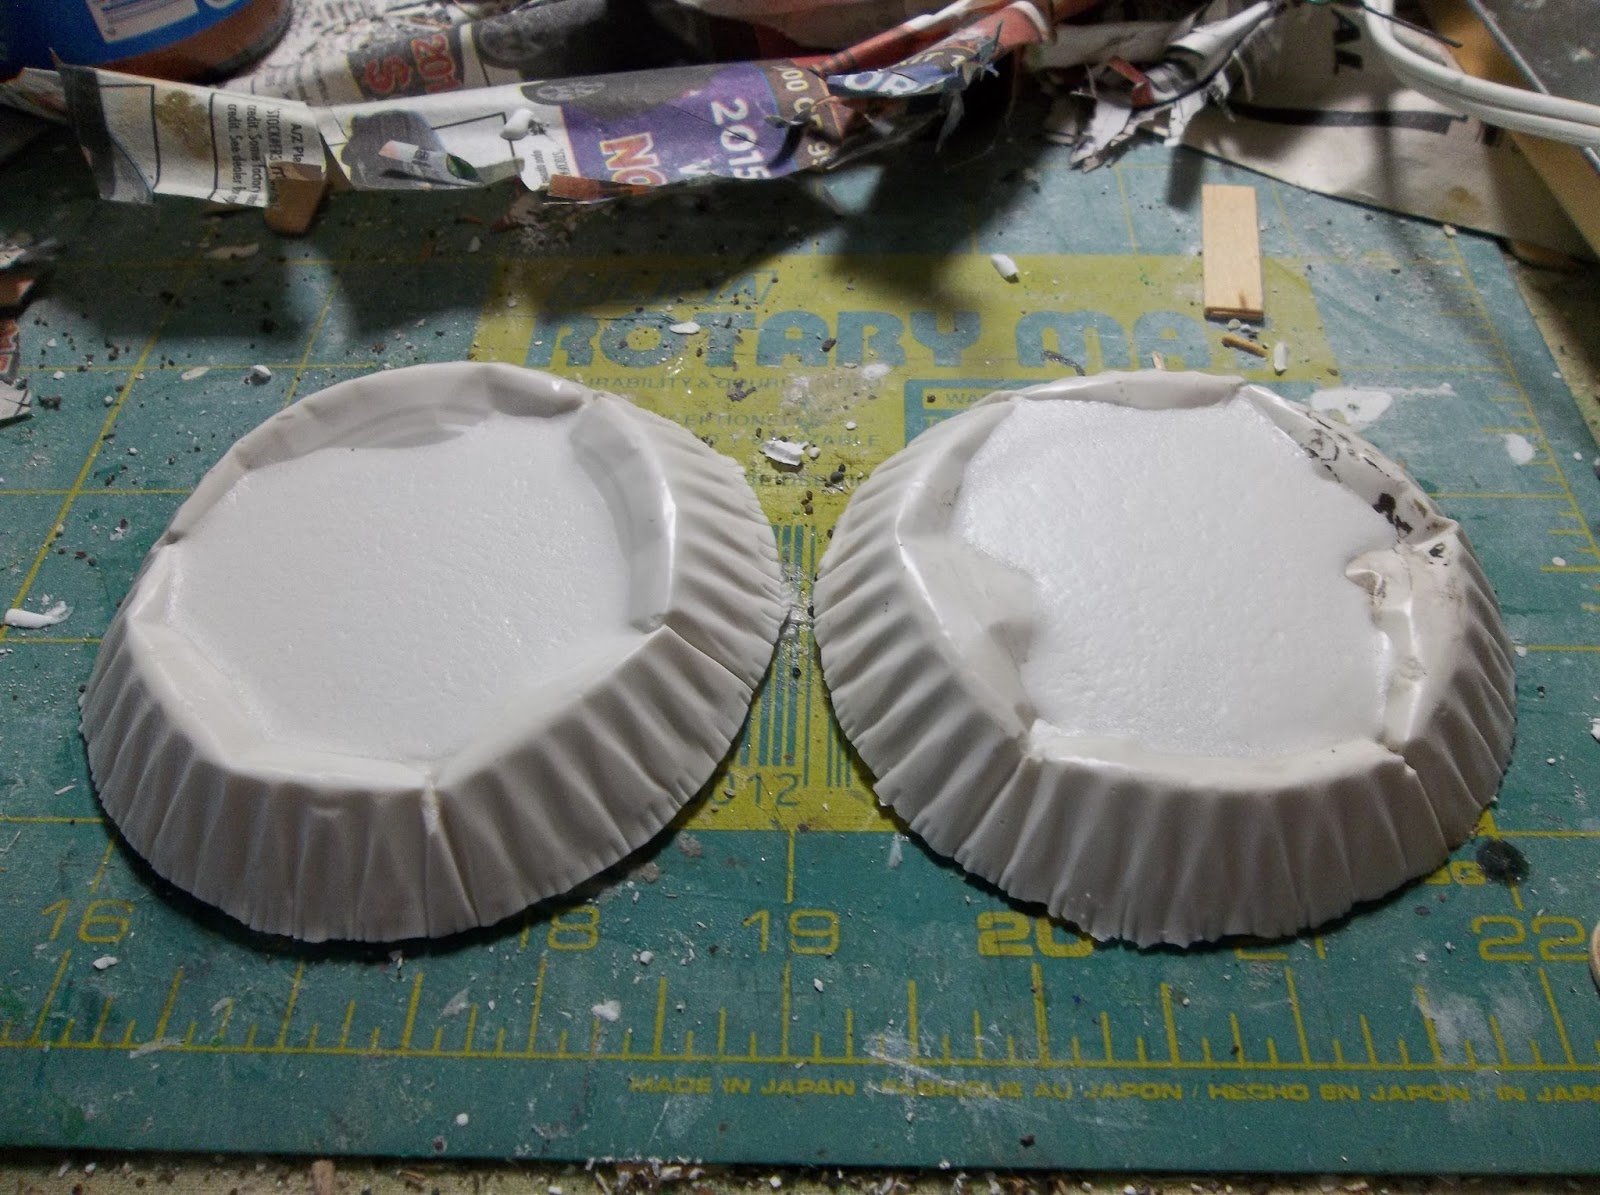
Follow the first steps given in the previous post to produce the basic crater. This time place the craters on a level surface, mix a small batch of watery plaster and pour it into the depression. It should form a smooth surface as shown below.

Next, mix yellow acrylic ink and watered-down PVA adhesive and pour slowly and carefully into the crater. The pour shouldn't disturb the glue blobs if you're careful. Don't worry if the ink mix runs over the side. Any spills will be covered later. You'll need to repeat this step once.

Glue discs of card to the bottom of the caldera, leaving a rim of about a quarter-inch wide. Wait until the glue has dried then mix yellow and red ink with Pledge floor polish to make a suitably fiery orange shade and pour onto the yellow glue surface. Add a few drops of water and work it around with a brush to get an even spread. You'll find the polish and water will dry to leave a crackle effect, revealing more of the yellow beneath the orange and the glue blob "bubbles" giving the effect of hotter lava welling up from below the cooling orange crust.

Once this is dry, add ground effect around the caldera by smearing 'Liquid Nails' construction adhesive onto the card surface and pressing dry coffee grounds into it. This'll create rough terrain that looks like it's cinder-covered. At this stage I also made the sides of the crater more uneven by applying smears of spackle.

 |
| Two intrepid explorers get uncomfortably close to the lava wells. |
Once all that is dry, paint using ordinary craft paints to get the desired color scheme. I chose a dark gray, and added streaks of dull yellow and brown to represent sulfur out-gassing.

Those look quite good. And useful for pulp games, sci-fi alien worlds, steampunk, and such.
ReplyDeleteThe project that just keep giving! These look just the ticket, great tip with the glue gun bubbles.
ReplyDeleteNice bit of work there. Very Effective. I can see the blob trick being useful for swamps as well.
ReplyDeleteThanks, gentlemen! Yes, it's a versatile method. Pat, you're right about the blob trick being useful for swamp terrain. I had considered using it, and I'm going to experiment with something along those lines next.
ReplyDelete